Showing posts with label decorating. Show all posts

Monday, 4 April 2016

Happy Easter! Mini Egg Victoria Sponge Cake

Happy Easter to all!

I baked a traditional Victoria Sponge double-layered cake, added buttercream to the top and decorated it with mini eggs. A perfect Easter treat after our lovely Sunday roast!


The mini eggs were a perfect touch and it really went down a treat in my household. It was completely gone within 24 hours!

For this cake I used my standard Victoria Sponge recipe. I have reposted it here for you to enjoy. Click here if you want to see the original recipe!

Ingredients:
200g Butter
200g Caster Sugar
200g Self Raising Flour
1 tsp Baking Powder
1 tbsp Vanilla Extract (optional)
4 Eggs
2tbsp Milk
Filling;
140g Icing Sugar
100g Butter
1 tsp Vanilla Extract (optional)
Raspberry Jam (in this recipe I used redcurrant!)


Method:
1. Preheat oven to 180 degrees and line two 20cm cake tins with butter.
2. Beat the butter and sugar together, then add the flour and eggs and beat until fully mixed. Add the milk if necessary and vanilla extract if desired.
3. Spread evenly between the tins and bake for 20 to 25 minutes or until an inserted knife comes out clean. Leave to cool upside down before decorating.
4. For the filling; mix the sugar and butter together. Spread over the bottom of one of the sponges. Spread the jam on the bottom of the second sponge.
5. Place the sponge with the jam on top of the butter icing sponge.
6. Decorate with more buttercream on top, and place the mini eggs on top as appropriate. There can be as many or as little as you like! You can also place cream on the sides of the cake, it depends on what look you are going for.


Enjoy!

Thursday, 7 May 2015

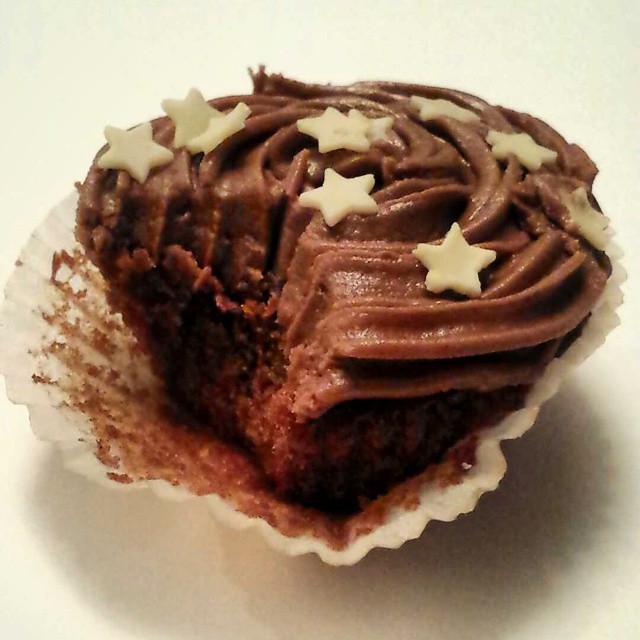
Simple Chocolate Cupcakes

You simply cannot go wrong with a recipe like this one!


Ingredients:
110g butter, softened
110g caster sugar
2 free-range eggs, lightly beaten
1 tsp vanilla extract
85g self-raising flour
25g cocoa powder
1-2 tbsp milk

For the buttercream icing;
140g butter, softened
280g/10oz icing sugar
Cocoa powder
Milk chocolate stars to decorate

Method
1. Preheat the oven to 180C/350F/Gas 4 and line a 12-hole muffin tin with paper cases.
2. Cream the butter and sugar together in a bowl until pale. Beat in the eggs a little at a time and stir in the vanilla extract.
3. Fold in the flour and cocoa using a large metal spoon, adding a little milk until the mixture is of a dropping consistency.
4. Spoon the mixture into the paper cases until they are half full.
5. Bake in the oven for 15-20 minutes, or until golden-brown on top and a skewer inserted into one of the cakes comes out clean. Set aside to cool for 10 minutes, then remove from the tin and cool on a wire rack.
6. For the buttercream icing, beat the butter in a large bowl until soft. Add half the icing sugar and beat until smooth.
7. Add in the cocoa powder. 
8. Add the remaining icing sugar, and mix until the mixture is smooth and creamy.
9. Pipe the icing onto the cakes, starting in the middle and rotate the cake slowly as the icing constantly pipes out. 
11. Decorate the tops of the cakes with the milk chocolate stars, or other decorations if you wish.
12. Indulge and enjoy!


Thursday, 23 October 2014

Halloween Cupcakes

Using a simple cupcake recipe, the decorations can be added on top for the real spooky effect. For these cupcakes I used a chocolate cupcake recipe.


Cupcake #1 - Ghosts
Ingredients:
 Chocolate Cupcakes
 White fondant icing
 Large marshmallows
 Black writing icing

Method:
1. On top of the cupcake, place a it of black writing icing in the centre and attach one marshmallow.
2. Roll out the white fondant icing and cut into a circle shape (big enough to cover the marhmallow).
3. Place on top of the marshmallow and manipulate so it falls as desired. 4. Decorate the icing with a scary ghost face!


Cupcake #2 - Pumpkin 
Ingredients:
Cupcake
Icing sugar
Orange food colouring (or red and yellow and combine)
Black writing icing

Method:
1. Create the icing with icing sugar and a small amount of water. Dye the icing sugar orange with food colouring.
2. Place on the cake and when dry (or in the process of drying) add a scary pumpkin face.


Cupcake #3 - Cobweb complete with Spider
Ingredients:
Cupcake
White writing icing
Black writing icing

Method:
1. With the white writing icing, create a cobweb across the entire cake.
2. Add a spider with the black icing for extra decoration.


Have a great Halloween!

Tuesday, 26 August 2014

Pacman Cookies

These are great fun! My sister gave me some Pacman cookie cutters a couple of years ago for Christmas and they are so easy to use. I made them with leftover dough from my Raspberry Jam Almond Tartlets.


Ingredients:
2 1/4 cups all-purpose flour
1/2 tsp ground cinnamon
1/2 tsp salt
1/2 tsp baking powder
90g ground almonds
1/4 cup packed light-brown sugar
1 cup unsalted butter, softened
1/2 cup caster sugar
1 large egg
1 tsp vanilla extract
1/4 tsp almond extract
Icing Sugar to decorate

**Please note other cookie recipes can of course be used!**


Method:
1. Pre-heat the oven to 350 degrees farenheight, 180 degrees celsius or gas mark 4. Whisk together flour, cinnamon, salt and baking powder, set aside. In a separate bowl, mix the brown sugar and ground almonds.
2. Mix together the butter and caster sugar. Mix in egg, then blend in vanilla and almond extract.
3. Mix in the almond mixture, then with mixer set on low speed, slowly add in the flour mixture and mix until it is all fully combined.
4. Dust the work surface with flour, and get the combined mixture (should be a dough) and roll out with a rolling pin, into 1/8 to 1/6-inch thickness.
5. Cut into the pacman shapes using the cookie cutters.
6. Carefully transfer to parchment paper lined baking sheets (you can run a sharp knife or pastry scaper under cookies to help lift them if needed!), spacing cookies 1-inch apart.
7. Bake in preheated oven 10 - 12 minutes until edges are lightly golden.
8. Cool on baking sheet several minutes then transfer to a wire rack to cool completely.
9. Prepare the icing sugar, it needs to be quite thick. Use various dies to achieve the right colours and use piping icing for finer details such as the eyes. 
10. Store in an airtight container.


Thursday, 14 August 2014

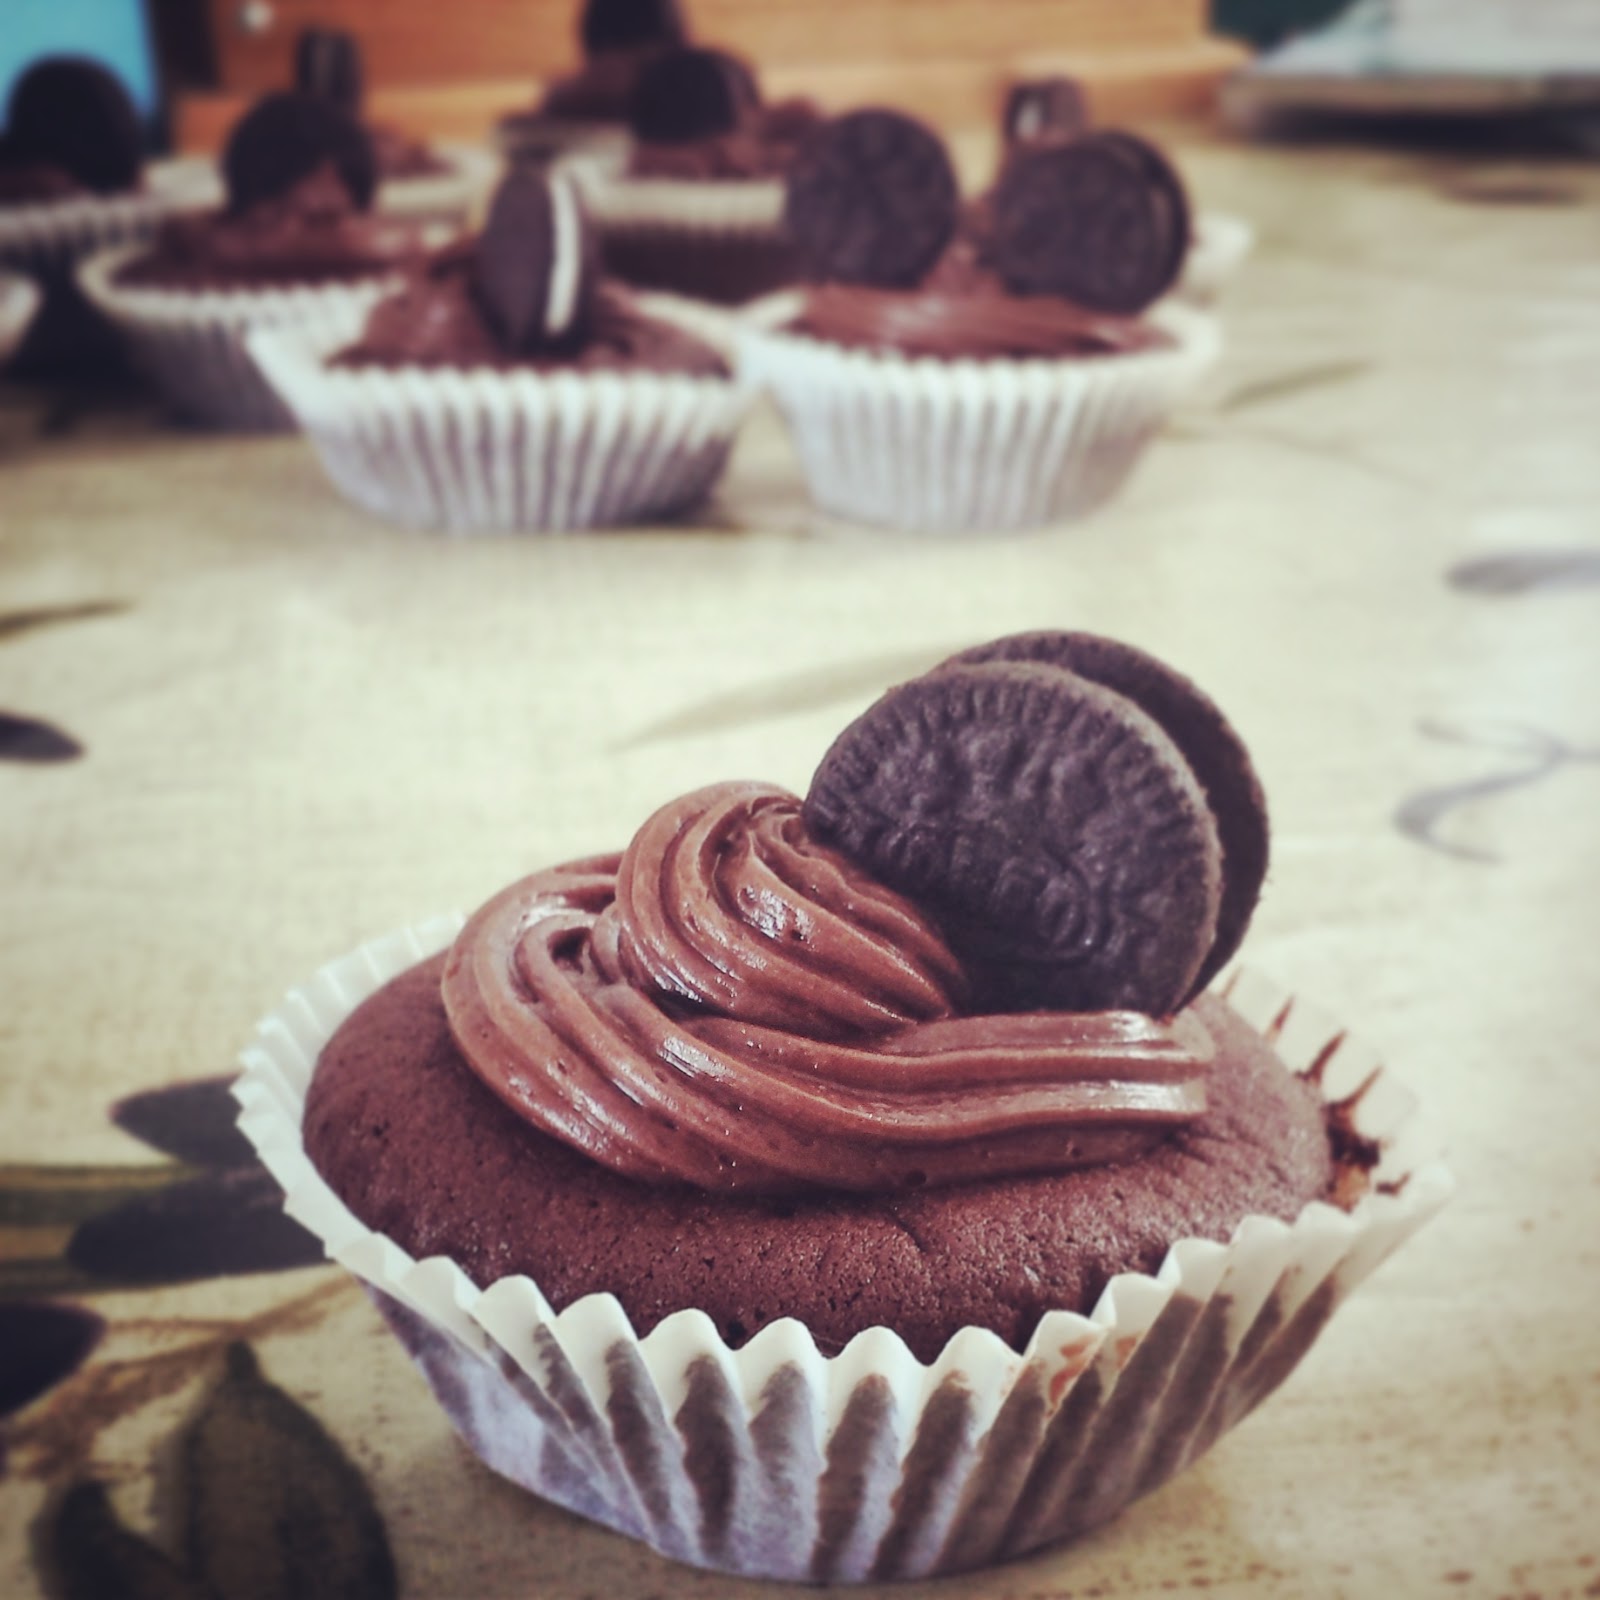
Chocolate Oreo Cupcakes

Who doesn't love oreos?!


Ingredients:
110g Butter
110g Caster Sugar
60g Self raising flour
50g Cocoa powder
2 Eggs
Chocolate Buttercream
Oreo Minis

Method:
1. Pre-heat the oven to 180 degrees or gas mark 4 and line a cupcake baking tray with cases.
2. Mix the caster sugar and butter in a bowl, then add the flour and cocoa powder and eggs and blend until fully mixed.
3. Fill the cupcake cases and bake for 20 minutes, or until an inserted knife comes out clean.
4. Take out of the oven and wait to cool.
5. Decorate the cupcakes with chocolate buttercream and a mini oreo on top. The buttercream could also have crushed oreo in it.


Sunday, 10 August 2014

Raspberry filled Almond Cupcakes

These were made purely because I baked some cherry bakewell tarts and had spare cake mix. Because I also had spare jam, I filled the middle of the cupcakes and decorated them as normal. The jam keeps them wonderfully moist in the middle and the almond and raspberry compliment each other extremely well, these cupcakes really are a delicious twist to a standard vanilla sponge.

I would highly recommend these cupcakes to make! Only a few different ingredients but they have an exceptional taste.


This recipe makes 12 standard cupcakes.

Ingredients:
110g butter, softened
110g caster sugar
2 medium free-range eggs
55g ground almonds
55g self-raising flour
1/2 tsp almond extract
Raspberry jam (for filling)
Icing sugar
Dried raspberry pieces (optional)

Method:
1. Preheat the oven to 180°C (gas mark 4) and fill a cupcake tin with cupcake liners. 
2. Place the butter and caster sugar in a large bowl and beat with an electric hand whisk until smooth.
3. Beat in the eggs, 1 at a time, adding 1 tbsp ground almonds after each addition. 
4. Add the flour, remaining almonds and almond extract and stir well.
5. Fill the cupcake liners and bake for 20 minutes, or until cooked (an inserted knife will come out clean). 
6. Take out of the oven and leave to cool.
7. Once cooled, using a teaspoon dig into the centre of the cupcakes and remove some of the sponge. Take care not to remove sponge such that the bottom of the cake case is being exposed. Fill the gap with raspberry jam to fill to the top.
8. Create a thick icing with the icing sugar and water and decorate on top. Add optional dried raspberry pieces.


Tuesday, 5 August 2014

Chocolate Chip Cookie Cupcakes

These are chocolate chip fairy cakes, topped with a simple butter icing and a miniature bite-sized Maryland cookie for decoration. I made these for my mum who is feeling a little poorly. There is nothing like cookies and cake to make someone feel better!


Ingredients:
110g Butter
110g Caster Sugar
110g Self raising flower
1tbsp Vanilla extract
1tbsp Milk
2 Free range eggs
Chocolate chips
For the decoration;
50g Butter
100g Icing sugar
Maryland bite-sized cookies


Method:
1. Preheat oven to 180°C/fan 160°C/ gas 4. Line a cake tin with cupcake liners.
2. Using an electric hand whisk, mix the butter and sugar together in a large bowl until pale and fluffy.
3. In a separate bowl, beat the eggs with the vanilla extract, then gradually beat in to the butter mixture, adding a little of the flour.
4. Sift over the remaining flour and gently fold in until just combined.
5. Add in the chocolate chips (this is optional as to how many chips you would like in your cupcakes).
6. Evenly place into the cake tins.
7. Bake for about 20 minutes or until risen and golden. Cool for 10 minutes, then place onto a wire rack and set aside to cool.
8. While the cupcakes are cooling, make the icing by creaming the butter and icing sugar together. You may want to add more icing sugar for the correct consistency.
9. Pipe the icing onto the cakes and place the cookies on top for decoration.


Friday, 1 August 2014

Mini Malteser Cupcakes

These are the same as the Rolo cupcakes I wrote about!


Ingredients:
50g Butter
50g Caster sugar
30g 70% dark cocoa powder
25g Sel-raising flour
1 egg
For the icing and decoration;
50g Icing sugar
30g butter
Chocolate Maltesers

Method
1. Preheat oven to 180°C/fan 160°C/ gas 4.
2. Using an electric hand whisk, mix the butter and sugar together in a large bowl until pale and fluffy.
3. Add the egg and beat the mixture.
4. Sift in the cocoa powder and flour and gently fold in until combined.
5. Pour the cake mix into the mini cupcake cases.
6. Bake for about 20 minutes or until risen; a knife should come out of the cakes clean when inserted. Leave out to cool.
7. To make the icing; cream the butter and icing sugar together. More icing sugar may need to be added.
8. Pipe onto the cakes.
9. Crush some Maltesers and sprinkle on top of the cakes. Then add a whole Malteser on top for decoration. 


Mini Rolo Cupcakes

These are simple to make and can be transformed into normal sized cupcakes, but for this recipe I made enough for approximately 18 miniature cupcakes.


Ingredients:
50g Butter
 50g Caster sugar
 30g 70% dark cocoa powder
 25g Sel-raising flour
 1 egg
 For the icing and decoration;
50g Icing sugar
30g butter
Chocolate Rolos

Method
1. Preheat oven to 180°C/fan 160°C/ gas 4.
2. Using an electric hand whisk, mix the butter and sugar together in a large bowl until pale and fluffy.
3. Add the egg and beat the mixture.
4. Sift in the cocoa powder and flour and gently fold in until combined.
5. Pour the cake mix into the mini cupcake cases.
6. Bake for about 20 minutes or until risen; a knife should come out of the cakes clean when inserted. Leave out to cool.
7. To make the icing; cream the butter and icing sugar together. More icing sugar may need to be added. 
8. Pipe onto the cakes and place a Rolo on top for decoration. 


Thursday, 31 July 2014

Candy Crush Saga Cake

I produced this cake for my mother's birthday. I took a simple Victoria Sponge cake recipe and decorated it with fondant icing for the decoration. I even personalised the 'level' and 'score' to fit my mother's age and birthday!

For this cake, I used a deep rectangle cake tray, but any cake tin can in theory be used.


Ingredients:
150g Butter
150g Caster Sugar
150g Self Raising Flower
3 Eggs
1 tsp Vanilla extract
Fondant Icing
Food Colouring
Icing Tube

Method
1. Preheat oven to 180°C/fan 160°C/ gas 4.
2. Using an electric hand whisk, mix the butter and sugar together in a large bowl until pale and fluffy.
3. In a separate bowl, beat the eggs with the vanilla extract, then gradually beat in to the butter mixture, adding a little of the flour.
4. Sift over the remaining flour and gently fold in until just combined.
5. Pour the cake mix into the cake tin.
6. Bake for about 20 minutes or until risen and golden. Cool in the tins for 10 minutes, then turn out onto a wire rack and set aside to cool.
7. Meanwhile, roll out white fondant icing and apply to the cake when cool.
8. This cake was decorated with pink fondant icing (dyed with food colouring) and the shapes were made from other coloured fondant icing. The writing was done with the icing tube.


Monday, 30 June 2014

Minion Cupcakes

Homemade minion cupcakes! I needed a science theme for some cupcakes and I thought minions would be ok. These are great for many generations, or those that love Despicable Me as a movie.

Ingredients
Different colours of Fondant Icing
Baked Cupcakes
Black icing tube

Method: 
1. Roll out yellow fondant icing and cut out circles with cookie cutters that are roughly the same size as your cupcakes to decorate.
2. Roll out grey and white fondant icing as well. These colours can also be made.
3. Cut out smaller grey circles and some strips for the goggles of the minions. Stick on top of the yellow layer on top of the cupcakes.
4. Make even smaller white icing circles and put these as the eye whites.
5. Decorate with hair, eye pupils and mouths with a black icing tube.


Sunday, 22 June 2014

Cheeky Rabbit Carrot Cake

I baked this cake for my sister's birthday, the best part is that the cake itself is carrot cake so the theme worked really well!


Ingredients:
200g Self Raising flour
200g Caster sugar
200g Butter
4 Eggs
170g Carrots, finely grated
100g Chopped Walnuts
1 tbsp Ground Cinnamon
1tbsp Ground Nutmeg
Butter Icing
Fondant Icing
Cocoa powder (optional)

Method
1. Pre-heat the oven to 180 degrees, and line two 20cm diameter cake tins with greaseproof paper and grease.
2. Make the cake batter recipe with the flour, sugar, butter and eggs.
3. Peel, head/tail the carrots and grate them. Add to the cake mix along with the walnuts that are finely chopped. Add in the cinnamon and nutmeg.
4. Split the mixture in half and add to each of the round cake tins, and bake for 20 to 30 minutes (insert a knife into the middle and it should come out clean).
5. Take out and leave to cool once cooked.
6. Make the butter icing (1:1 ratio of icing sugar and butter) more may need to be added as necessary.
7. Take the cakes out of the tins and turn one upside down. Put butter icing on top of the upside-down layer and add the other on top the right way up to make a sponge sandwich.
8. With the rest of the butter icing, spread it all over the cake.
9. Roll out icing fondant and put on the cake (the butter icing helps it to stick).
10. Decorate with fondant icing, creating the rabbit and carrots etc. The cocoa powder was used for the soil effect, but other substitutes can also be used. The coloured fondant in this cake was used but food colouring can also be added to white fondant for the same effect.

Enjoy!


Friday, 20 June 2014

'By the Seaside' Cake - Horse themed

This cake was mainly designed for a competition where a cake had to be baked that was horse-themed. I decided to decorate a simple one-tiered victoria sponge cake as a beach and added on miniature toy model horses to fit the category!


Ingredients:
Miniature model horses (edible or non-edible)
200g butter
200g icing sugar
Blue food colouring

**please note more or less icing may need to be made depending on the size of the cake**

Method
1. Mix the butter and the icing sugar together to create the butter icing.
2. Roughly split the butter icing mixture in two and add blue food colouring to one of the mixtures until the desired shade is achieved.
3. Smooth the non-coloured, sandy coloured buttercream onto the cake first, only covering roughly one half to two thirds of the cake.
4. On the remaining parts of the cake with no icing, use the blue icing for the sea.
5. More blue icing can be layered up to create the effect of waves.
6. Decorate with the horses as necessary (optional!)


Wednesday, 4 June 2014

Polar Bear Cupcakes

This is a simple decorating recipe on how to get your cupcakes to look like polar bears! This is great for Christmas, but also any time of the year.


Ingredients:
Cooked cupcakes
White chocolate flakes
Large white chocolate buttons
Black/brown icing tubes
Butter icing

Method
1.       Cook normal cupcakes.
2.       Place the undyed butter icing onto the cakes and sprinkle the white chocolate flakes on top until the entire surface has been covered.
3.       Using two chocolate buttons, place two into the cakes at 45 degrees for ears and one for the muzzle of the polar bear.
4.       Use the black/brown icing tube to make the nose and mouth on the button used for the muzzle, and place two blobs onto the cake above the muzzle and below the ears for eyes. 

Original pack from Tesco